Retirement of the obsolete fax service on 30 Nov 2021With the launch of the new Email-to-Fax system, the obsolete fax system was retired on 30 Nov 2021. Should you have any queries, please contact IT Help Desk at 2948 6601 or helpdesk@ocio.eduhk.hk. |
Email-to-Fax Service (Staff Only)

OCIO provides the Email-to-Fax service for colleagues to send fax via email to specific email address(es) comprising the fax number(s) concerned. (Note: This service should be used solely for the purposes of the University. Commercial use is strictly prohibited.)
- Send a Fax by Email
- Send an International Fax by Email
- Send a Fax to Multiple Recipients
- Send a Fax to Multiple Recipients Using the Mail Merge Function in Word
- FAQ
Send a Fax by Email
(e.g. 29486520@efax.eduhk.hk)

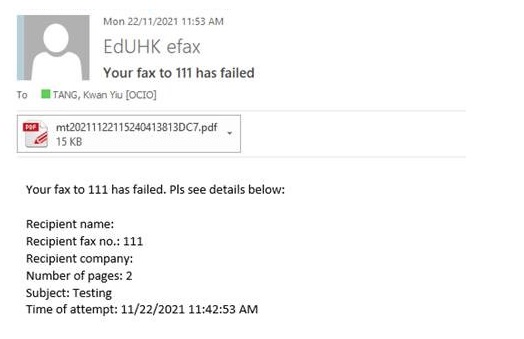
The sent fax will look like below:

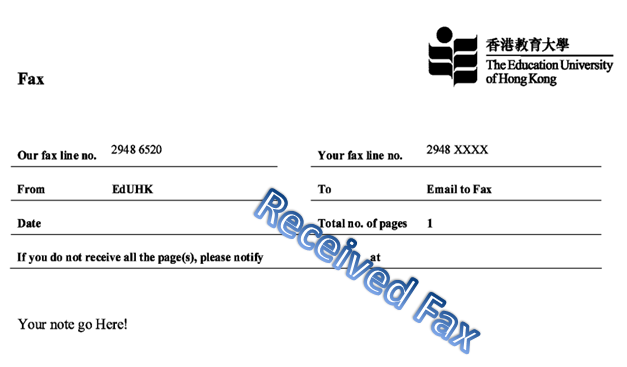
Note : The attached Word document will be converted into an image with a resolution of 200x200dpi.
Otherwise, you will receive an alert email.
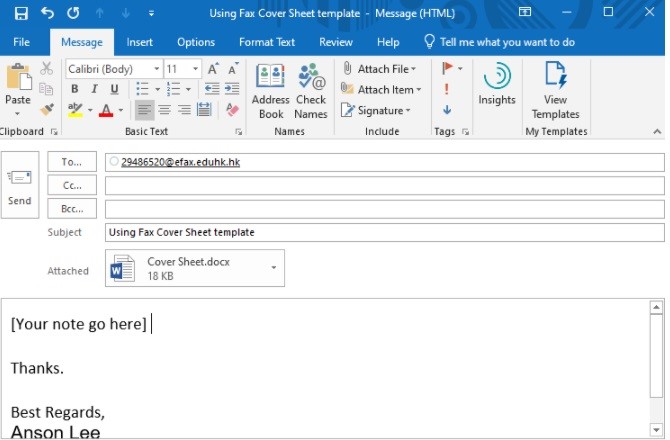
- Open Outlook or Outlook on the web and log in your EdUHK email account. Compose a new email or attach a Word document as the fax content.
If there are Chinese characters in the content, please send it in HTML or Rich Text format. Alternatively, you may put your content in a Word document and send it as an attachment.
If you want to insert pictures in the fax, please insert it in a Word file (In Microsoft Word, select Insert > Picture > From File) and send it as an attachment.
Note : You must have a subject and body in the email.
- In Recipient, input the fax no. in the following email address format:
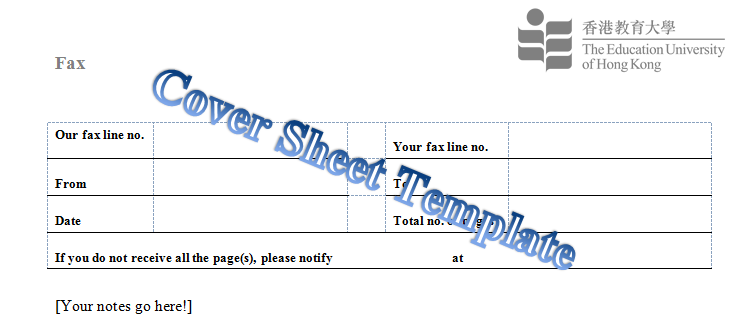
- If you want to send the fax with a cover sheet, please make use of the Fax Cover Sheet Word Template and attach it in the email.
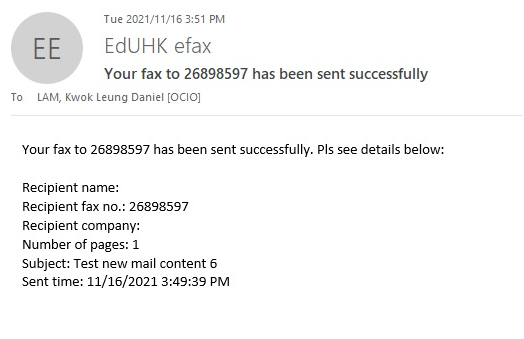
- You will receive a confirmation email from EdUHK efax after the fax is sent successfully.
Send an International Fax by Email
Your departmental IDD telephone account will be charged for any international fax placed. Only authorised persons with the departmental passcode can use the service.
+++++++ @efax.eduhk.hk
where
+are the required numbers for call transfer in the UC&C system.
are listed on Directory of International Telephone Numbers or Country Code List.
is an 8-digit departmental passcode for outgoing international calls. Please contact your Departmental Computer Coordinator (DCC) or the general office of your department for the code.
Below is an example of a fax to the number “12345678” in Singapore (Country code: 65).
e.g. 900626512345678#23456789#@efax.eduhk.hk
- Follow Step 1 in Send a Fax by Email.
- In Recipient, input a fax number with the following required codes and email format:
Send a Fax to Multiple Recipients
To send a fax to multiple recipients, you are recommended to send your fax content in a TIF file which requires shorter processing time. Below are the steps using PDF-XChange Pro.
- Open Network Teaching Software and select "PDF-XChange Pro".

- After Installation, open the PDF file with PDF-XChange Pro.
- From the menu, click "File" > "Export" > "Export to Image(s)".

- In Image Type, select "TIFF - Tag Image File Format" and click "Options...".

- Select "1 (Black & White)" in Image type and "CCITT Group 4 fax" in Compression. Then click "OK".

- Click "OK" again to start converting the file to TIF format.
- Choose a location to save the file.
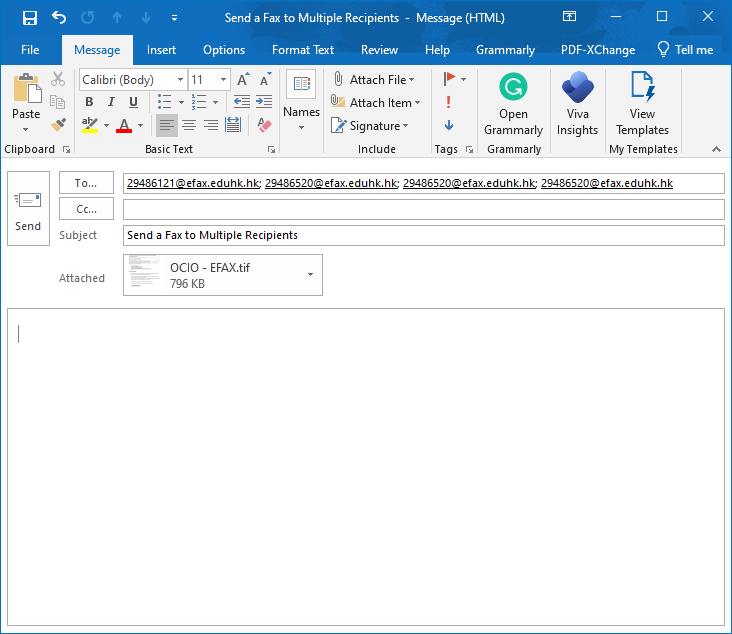
- Then, open Outlook or Outlook on the web and log in your EdUHK email account. Compose a new email and attach the TIF file. You can add multiple recipients with the email address format stated in Step 2 of Send a Fax by Email or Send an International Fax by Email.
Send a Fax to Multiple Recipients Using the Mail Merge Function in Word
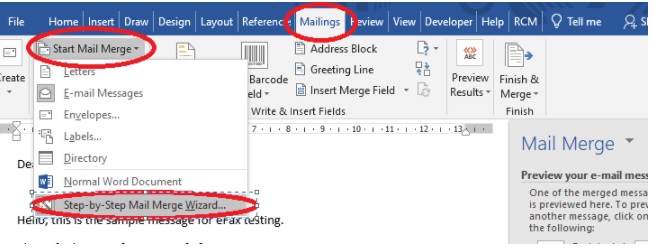
- Open a Word document, look for the “Mailings” tab in the Ribbon. Then, click “Start Mail Merge” and select “Step-by-Step Mail Merge Wizard…”.
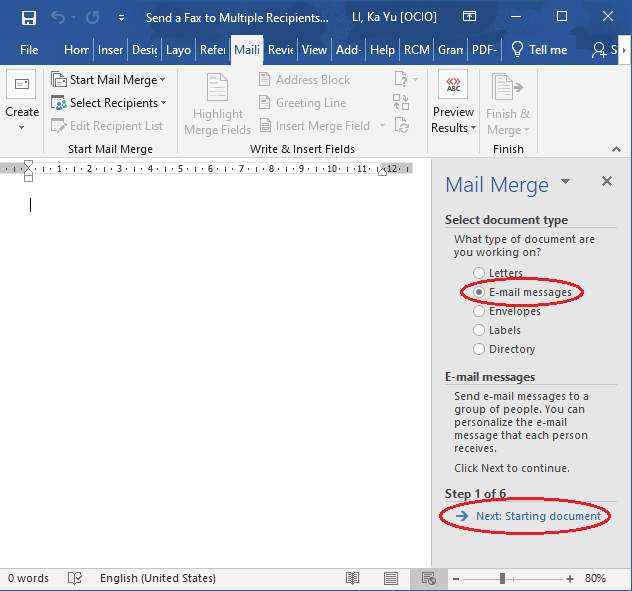
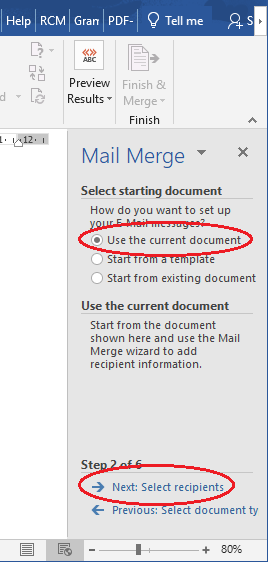
- Select “E-mail messages” and click “Next: Starting document”.
- Select “Use the current document” and click “Next: Select recipients”.
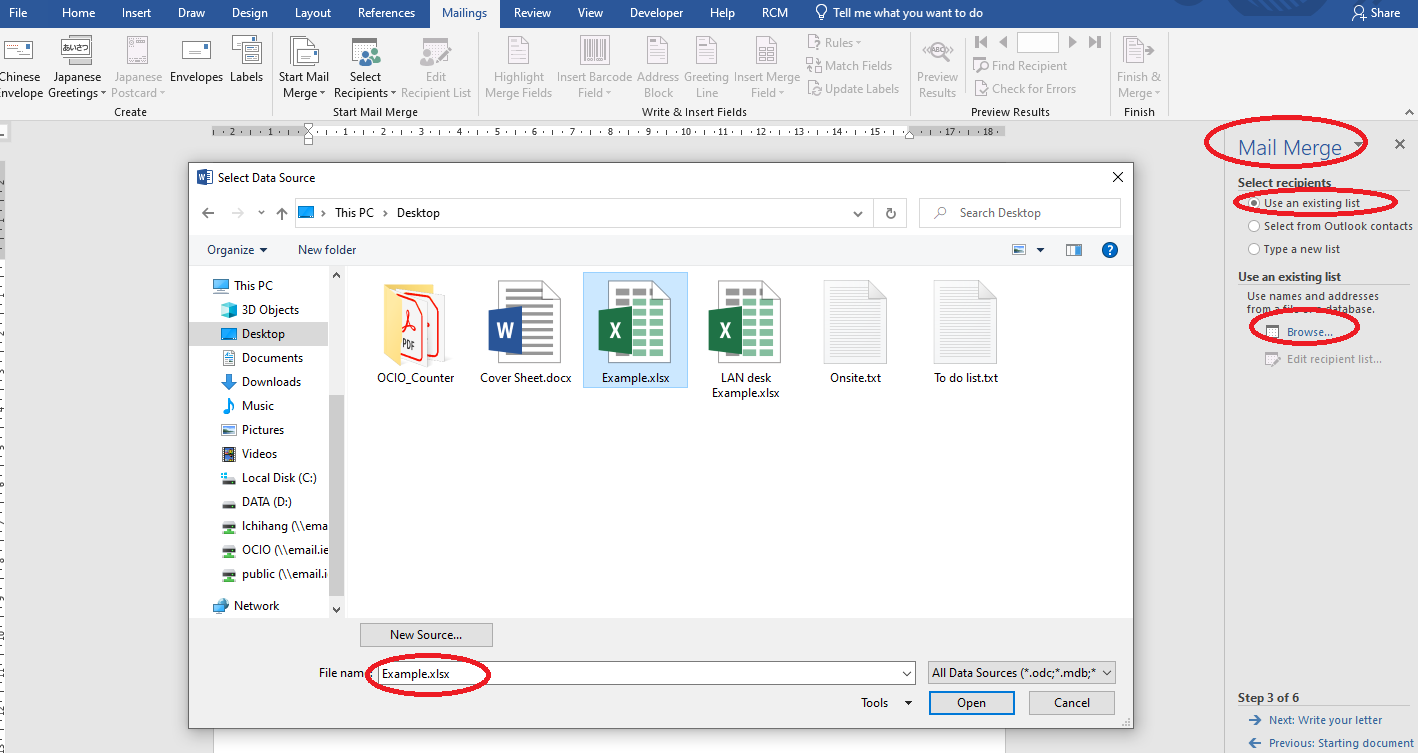
- You may select “Use an existing list” and click “Browse…” to select your data source file (e.g. Excel file). If the data source file is an Excel spreadsheet, select the table when prompted.
In Mail Merge Recipients, select or clear the check boxes to add or remove recipients from the recipients list.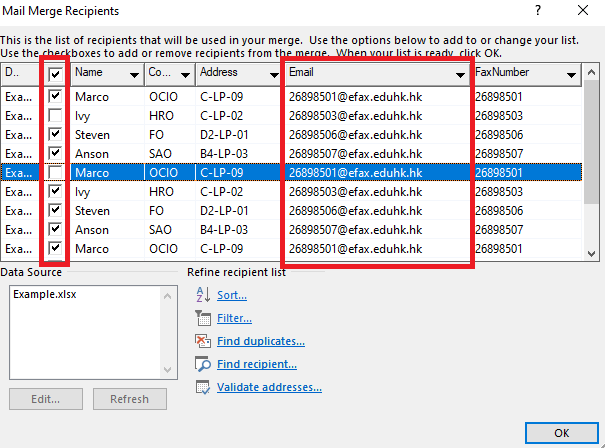
Note :Before starting a mail merge, make sure the first row of your Excel file contains the name of the field (e.g. Name and Email). For more details, please see Mail merge using an Excel spreadsheet.
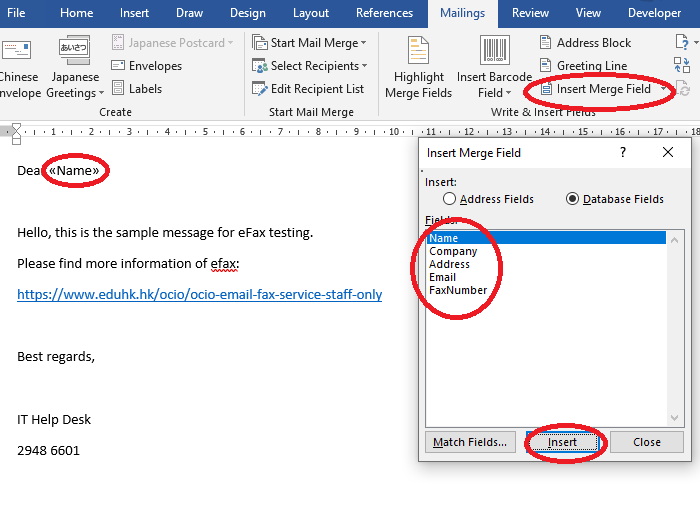
- Click "Insert Merge Field" and insert the field.
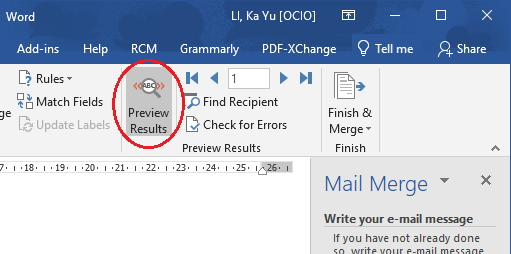
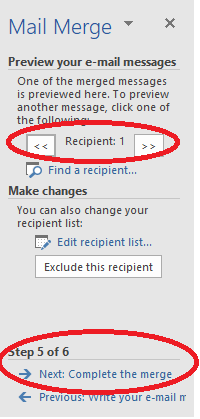
- When finished, click “Preview Results” to see the merged e-mail messages. You may go back to the previous step to make changes, if needed.
- To complete the merge, click “Next: Complete the merge”.
- Now click “Electronic Mail…” and select “HTML” in Mail format. Then click “OK” to send the merged emails via Outlook.
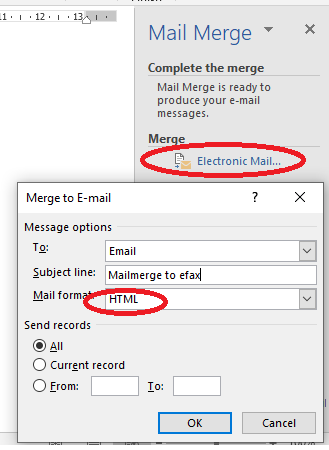
Note :When using the mail merge function to send a fax, HTML mail format is highly recommended for a smoother process. If not, you will be prompted to confirm in Outlook repeatedly, which cannot be bypassed due to a security protection setting.
If it is necessary to use attachment in Mail format, you can grant access to recipient information in Outlook for the needed period (e.g. 10 minutes) when prompted.